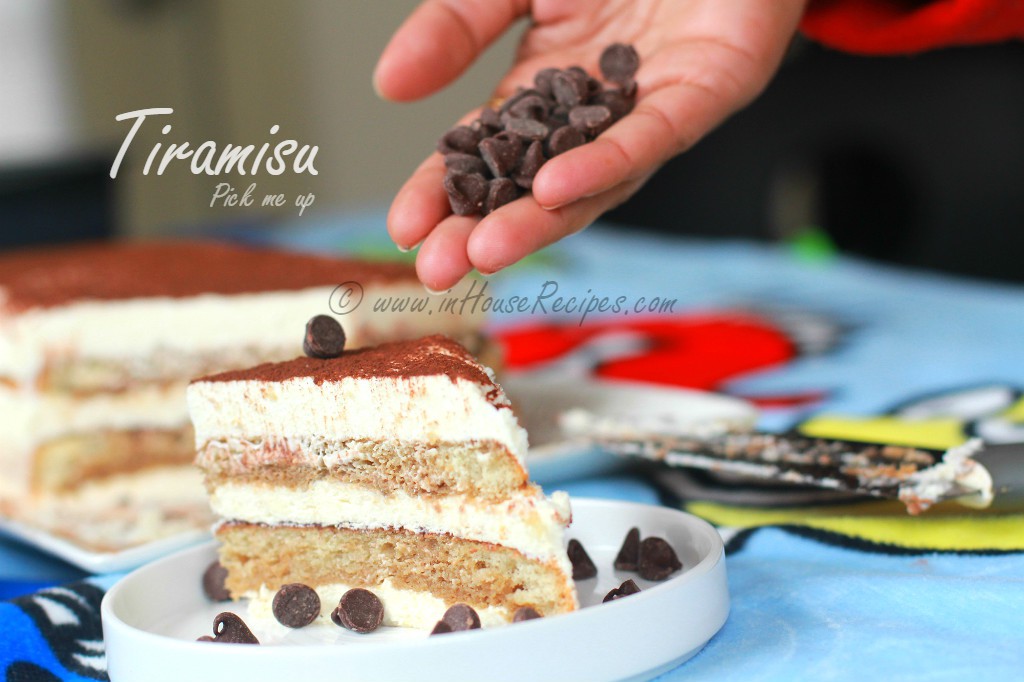
Italian Tiramisu Cake Recipe at Home
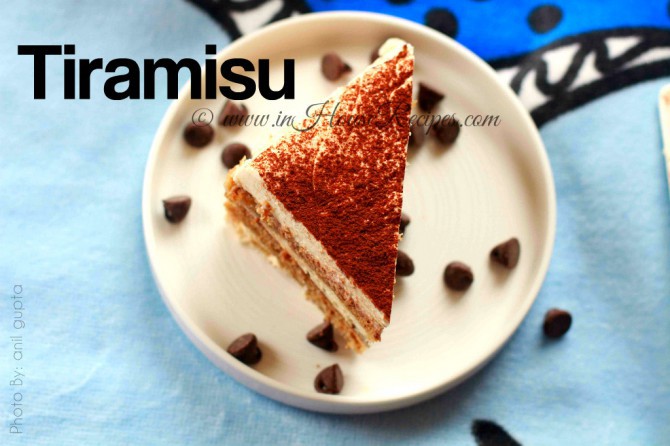
Tiramisu cake simple and easy recipe with no ladyfinger biscuits. Step by step pictures and a video to help you with tried and tested Italian style recipe.
Maahi Gupta Updated 21 Feb, 25
Italian Tiramisu cake is primarily made with Ladyfingers biscuits (finger biscuits), Coffee, Mascarpone Cheese and Whipped cream. The process is pretty simple if you just buy everything ready-made from the market (like finger biscuits and whipped cream).
We thought of doing it all at home and use a bread cake base instead of Ladyfinger biscuits. This is the elaborate step by step pictures and videos that we recorded for the process we went through.
The easy and simple Tiramisu cake can be made at home with our tried and tested recipe.
We thought of doing it all at home and use a bread cake base instead of Ladyfinger biscuits. This is the elaborate step by step pictures and videos that we recorded for the process we went through.
The easy and simple Tiramisu cake can be made at home with our tried and tested recipe.
Ingredients
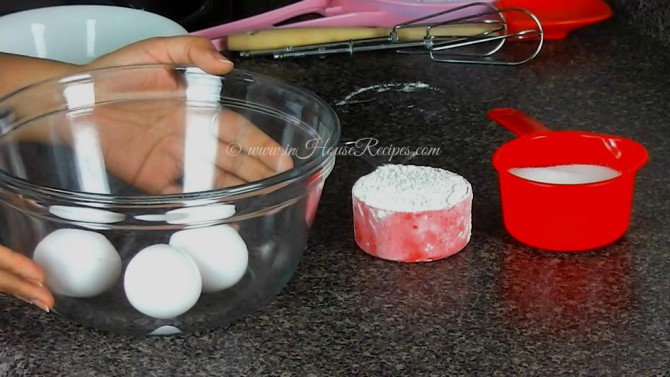
- 3 Number Eggs large – 3 Inch approximately
- 1/2 Cup All Purpose Flour Maida
- 3/4 Cup Powder Sugar Or use Fine powdered sugar. You can grind standard Sugar to make it powdered
- 1 Tbsp Oil
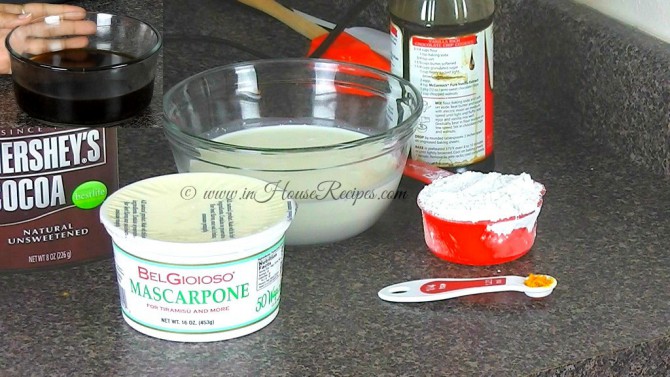
- 250 Gms Mascarpone Cheese Use Cream Cheese if you can’t get Mascarpone
- 1/4 Tsp Orange Zest Optional or use Lemon Zest
- 3/2 Cup Powder Sugar Or use Fine powdered sugar. You can grind standard Sugar to make it powdered
- 3/2 Cup Heavy Cream Do not use the Malai from Milk made at home. It is recommended to buy ready-made cream from market.
- 1/2 Cup Cocoa Powder Approximately
- 2 Tbsp Coffee
- 3/2 Cup Water
- 3/2 Tsp Vanilla Essence
- Ingredients for cake base should be ready now.
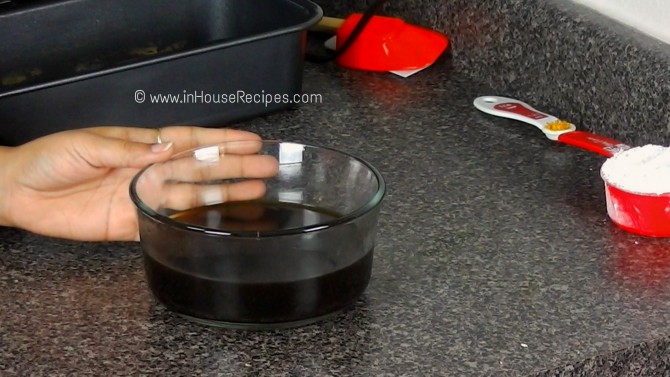
- The first step is to brew the Coffee. You can either use a coffee brewing machine or brew it the desi Indian style.
- We are following the Indian style. Add 3/2 cup of water and 2 tbsp of coffee in a pan (you can use a tea-pan).
- Boil it for about 4 minutes on high flame. After 4 minutes, sieve the coffee beans to separate the brewed coffee water.
- Once done, keep it aside to cool down to room temperature.
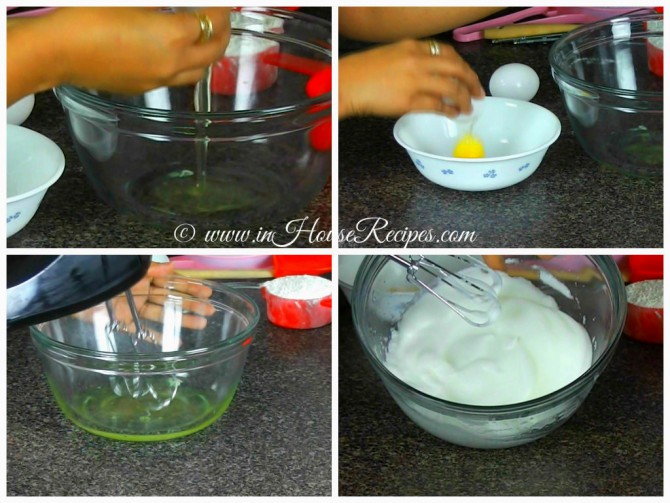
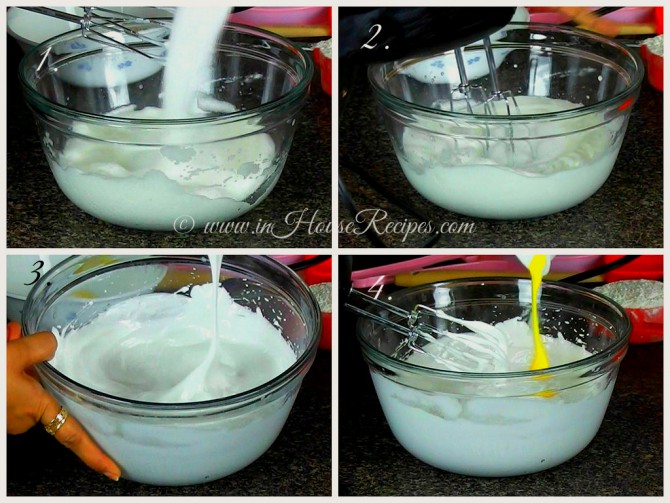
- We have to start with separating the egg whites from their yolk. Break open the egg shell and then use your both hands to swap the Egg yolk. While swapping, you can easily help the egg white basically the color-less liquid to drop into a bowl.
No, do NOT throw away the egg yolk. We would use them later in this recipe. - Once you have the egg whites, blend them with a blender for about 4 minutes.
- After 4 minutes of blending, the egg whites would fluff and you can see the lather building up.
- Now, add Sugar 3/2 cup from the cake’s base ingredients gradually and blend again for 1 minute.
Blending Egg whites separately helps build up a good fluffy lather.
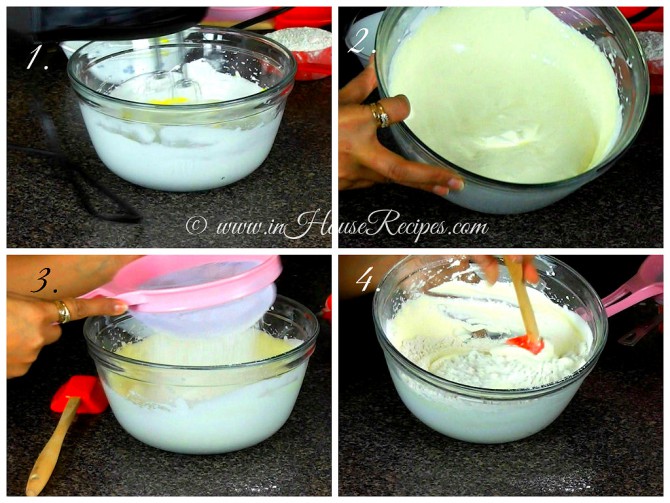
- After 1 minute, add the egg yolks yellow portion and keep blending for another 1 minute.
- After 1 minute, add All-purpose-flour (sieve separately or directly into the bowl – Refer image. Now, do not use blender. Use your hand and a spatula to mix All-purpose-flour Maida with the rest of the paste.
Do NOT use the blender after adding All-purpose-flour (Maida).
- Remember, you have to mix it well enough to call it a smooth paste. There should be no visible lumps.The cake’s base batter is now ready. Lets move on to baking.
- Pre-heat the Oven on 375 F (190 C). You can even use the Microwave Convection Oven if you do not have standard Oven. The temperature and recipe will remain same.Read more about Baking in Microwave Oven here.
- Some newer models of Oven and Microwave Convection Ovens have the feature of pre-heating to a desired temperature. We simply love this option. If you have it, use it to set the temperature and wait for the device to signal when it is ready.
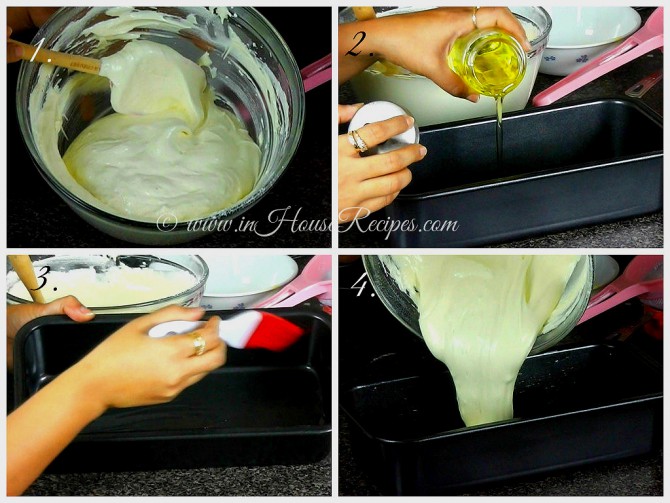
If you do not have this feature and still hanging with an old Oven like us, wait for about 5 minutes. There is no way to find the real temperature inside Oven after 5 minutes. We have observed that 5 minutes is a good time to get desired levels of heat for baking. - While, pre-heat is going on, we can grease a loaf pan with 1 tbsp of Oil. You can pretty much use any pan Circular, triangle or whatever you have.
We are using the rectangular pan also called loaf pan due to its shape. Grease all inner surface i.e. base and walls. Greasing with Oil helps to create a non-sticky layer between cake and the pan. It doesn't stick after baking. You can substitute Oil with Butter too.
- Add the Tiramisu base batter to the pan.
- If the pre-heat time 5 minutes is over, keep this pan in the Oven of Microwave Oven for about 20 minutes on 375 F 190 C.
- After 20 minutes, the cake should be ready to come out of Oven. But wait, there are slight chances that it has not baked completely yet.
But why?
Well, each baking device has its capabilities to produce and hold the heat within it. Newer devices would be better than than the older generation. So, it is possible that the cake has not baked yet.How to check?
Use a tooth pick and poke it at the center of cake. If it comes out clean i.e. no greasy cake batter paste visible or felt on touching the tooth-pick, then your cake is all set.
If you do see some cake paste there, this signals that the cake might still need some more time to completely bake its inner portion.
Here, we recommend to bake it for another 5-10 minutes and then re-check.Off-course, the cake would look brown from the outer surface after 20 minutes of baking. The real test is inside and we recommend using the tooth-pick test.
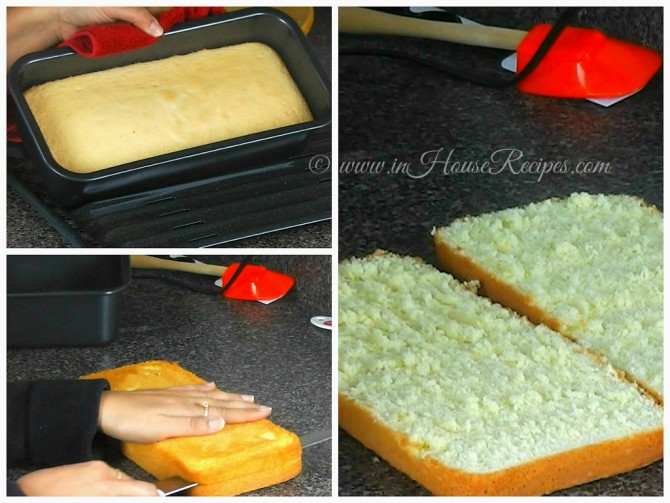
- Once the cake is fully baked, take it out. The pan’s surface would be hot, be careful while handling it.
- Keep this pan aside to cool down to room temperature. We can move on to making the topping for Tiramisu cake while it cools down.
Making the Whipped Cream Prep Time – 4 Minutes
- Ingredients for Cake topping should be ready.
- If you already have whipped cream that you bought from market, you can simply skip this step.
- And if you are wondering what whipped cream is, continue here.
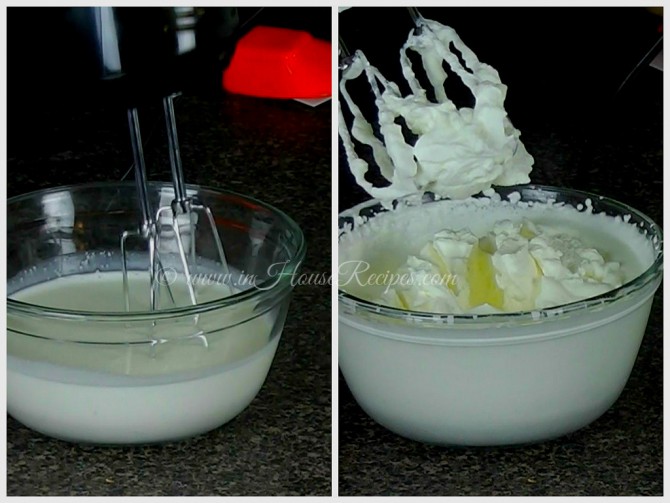
Whipped cream is nothing but the cream that you get after blending or commonly called whipping the plain cream. - Its time to blend whip our heavy cream for 4 minutes.
- After 4 minutes, the liquid cream would turn into a semi-solid state. It is important that we do not over-blend here.
If you keep blending it past the semi-solid state, it would start losing its water content, rendering it useless for cake. - Whipped cream is ready. Lets move on to next step.
Making the Cake’s Creamy cream for layers Prep Time – 2 Minutes
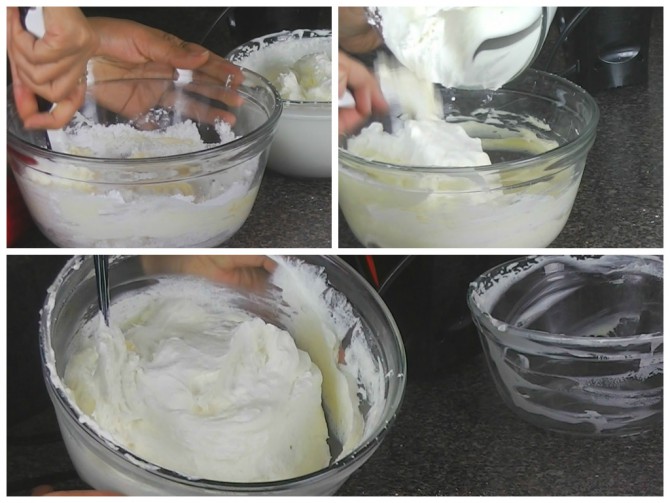
- Take Mascarpone cheese, Vanilla essence and Sugar in a bowl. Mix them well with the help of a spatula.
- Now, add whipped cream and mix them well again. The idea is to gel all the ingredients together.
- Creamy cream to use as cake layers is ready to use.
Putting the cake together Prep Time – 5 Minutes
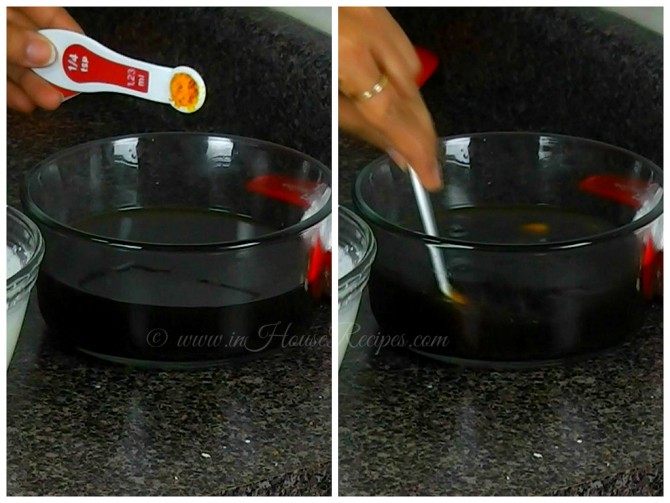
- Bring up the coffee bowl. Add Orange zest and mix well.
Orange zest is optional. We are using to add a bit of flavor.
- You can simply scrub the Orange skin in the coffee, if you plan to use it.
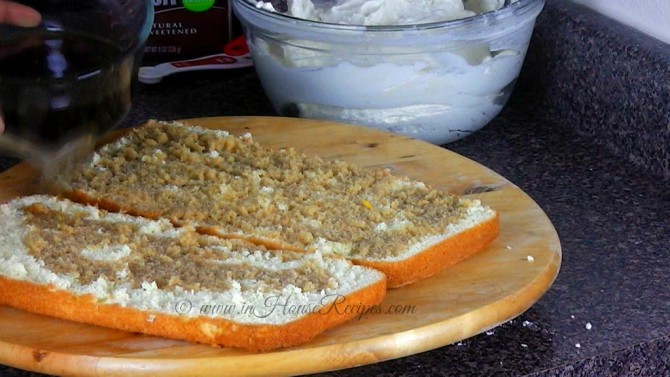
- By now, the cake base (call it bread) and its pan would have cool down. Separate the bread piece using a knife from the pan.
- Slice this bread piece into 2 portions horizontally.
- Use a spoon and pour coffee on one side of each bread piece. The idea is to moist the bread and add coffee flavor.
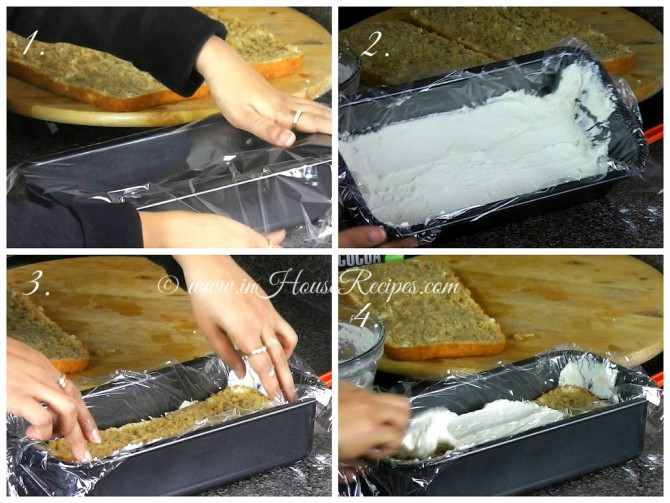
- We are going to use the same loaf pan that we just emptied, to set the final cake.
- Take a plastic food wrap and place it on the bottom of your loaf pan. The plastic wrap should be large enough to cover the base and the walls. We are trying to create a layer between cake and pan to help us push out the cake easily, after refrigeration. You can even use a parchment paper of the baking paper or butter paper.
- Now, creamy cream comes into action. Spread a 1/2 inch thick layer at at bottom of this pan. At this time, the cream would sit on the plastic food wrap or parchment paper that you laid inside the pan.
- Place one of the bread piece on top of this cream’s layer.
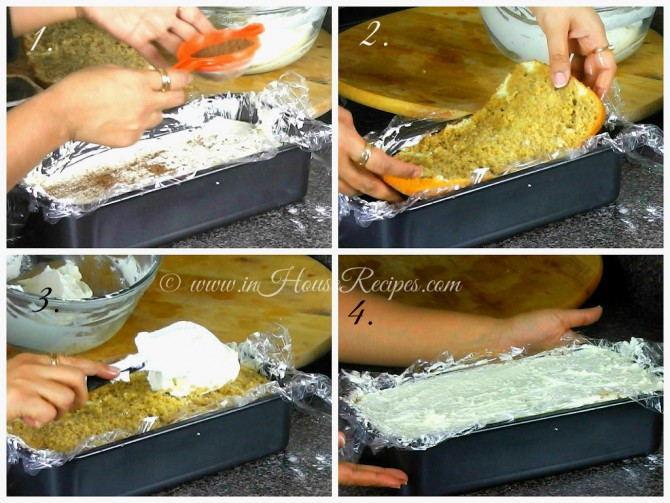
- Make a second 1/2 inch layer of creamy cream on top of the bread piece.
- Sprinkle the Cocoa powder passing through sieve all over the cream layer.
- Keep the second piece of bread now on top of Cocoa powder layer.
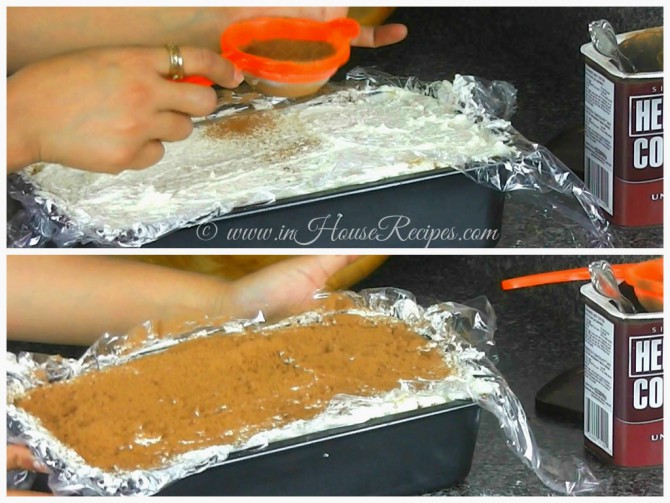
- Create a third layer of creamy cream 1/2 inch and sprinkle Cocoa powder on top of it.
- At this time, you have 3 layers of creamy cream, 2 layers of bread and 2 layers of Cocoa powder stacked together to make a simple Tiramisu cake.
Refrigerating cake Prep Time – 2 Hours
- Tiramisu cake is now technically ready to eat.
But, we recommend refrigeration. You can refrigerate for 2 hours to get best taste and results. It will help set the cream with the bread.
Serving Tiramisu cake
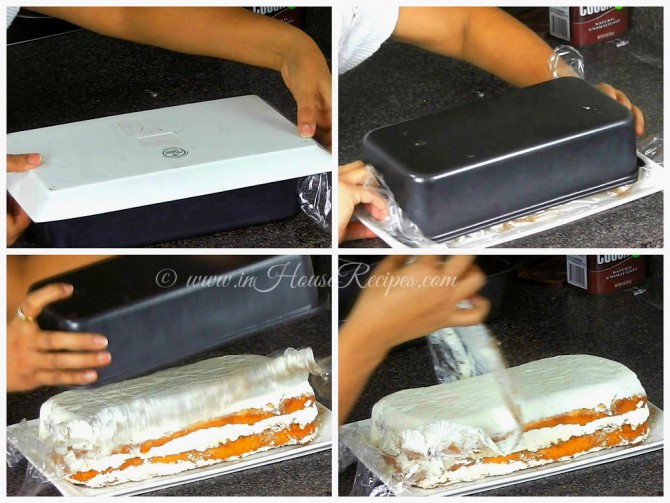
- After refrigeration, we need to take out the cake from pan. Keep a plate on top of the pan and turn it over. The plastic food wrap would just help slip it into the plate.
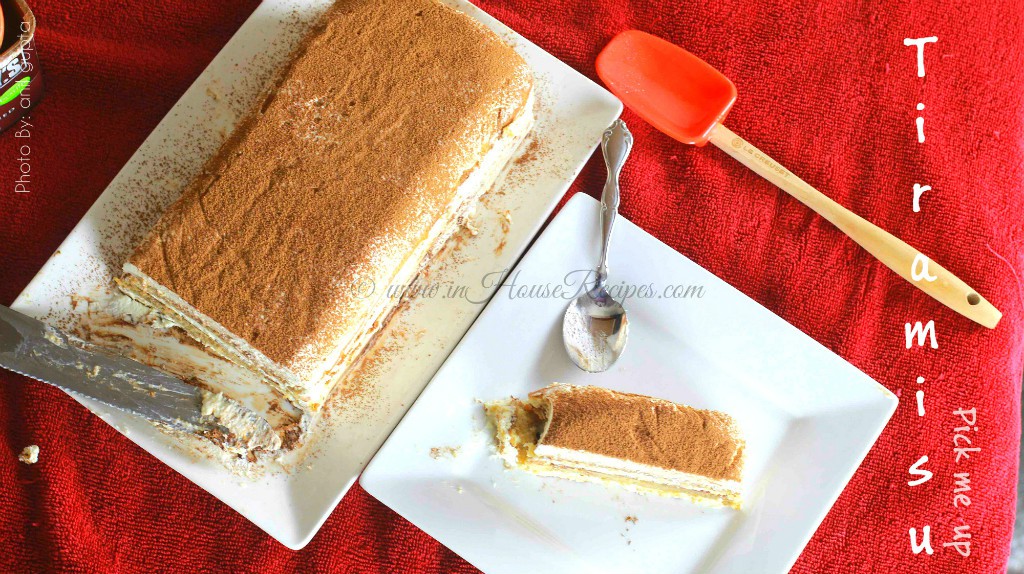
- Sprinkle the cocoa powder again passing through Sieve as the top layer.
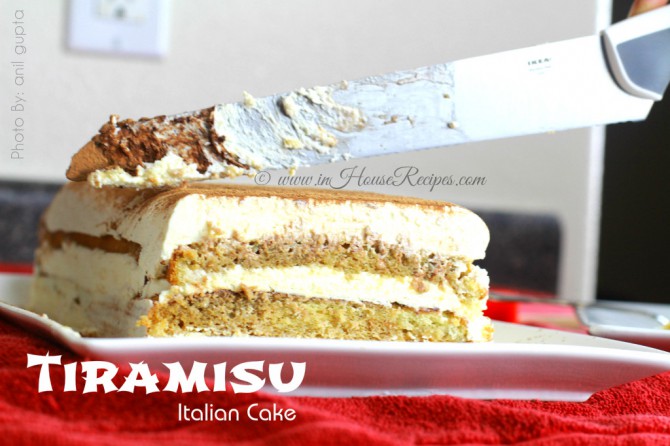
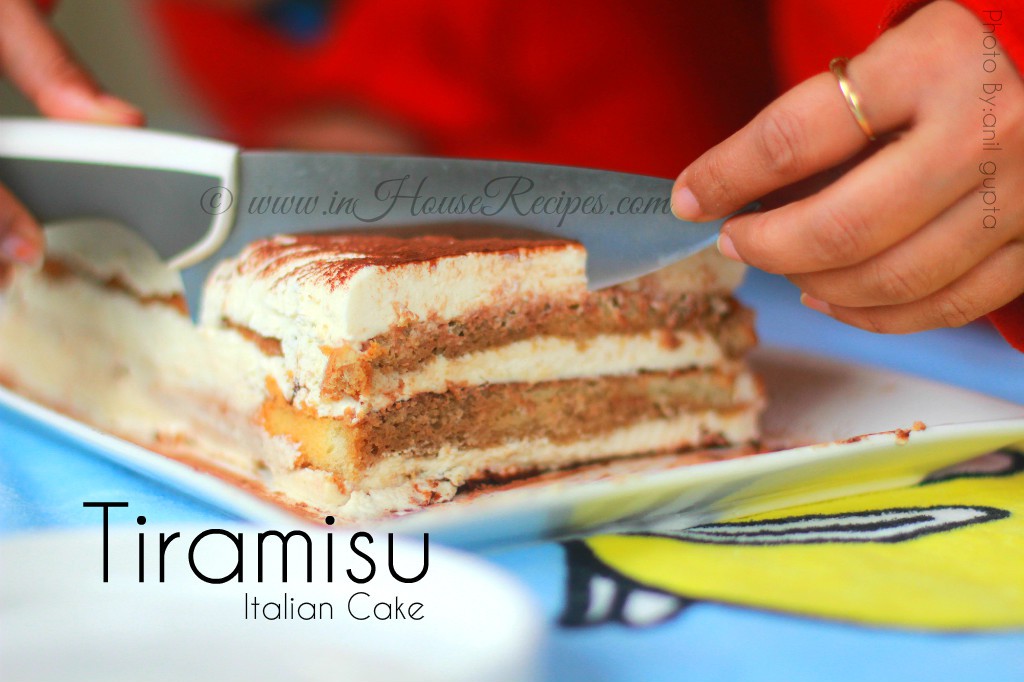
- Tiramisu is now finally ready to serve. Enjoy.
- Keep refrigerated and consume within 7 days for best taste.
Ingredients for Tiramisu cake base
Ingredients for cake topping
Yield 1 kgs
Nutrition Facts
Italian Tiramisu Cake Recipe at Home
Amount Per Serving
Calories 5241
Calories from Fat 2718
% Daily Value*
Total Fat 302g
465%
Saturated Fat 179g
895%
Trans Fat 9g
Polyunsaturated Fat 9g
Monounsaturated Fat 59g
Cholesterol 1438mg
479%
Sodium 508mg
21%
Potassium 3334mg
95%
Total Carbohydrates 635g
212%
Dietary Fiber 42g
168%
Sugars 465g
Protein 73g
146%
Vitamin A
156%
Vitamin C
3%
Calcium
73%
Iron
126%
* Percent Daily Values are based on a 2000 calorie diet.
